Smart Garden Setup: Harvest Fresh Produce in 3 Months
Anuncios
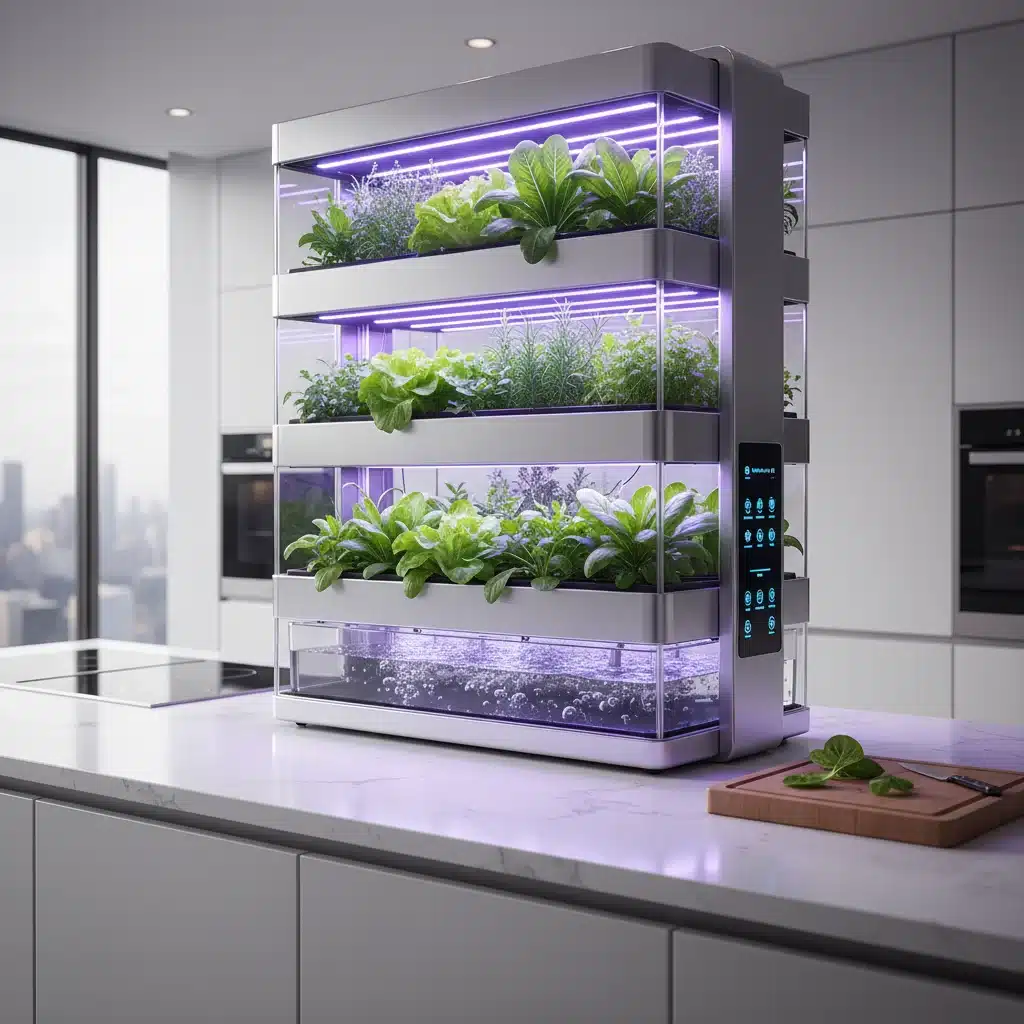
In an increasingly fast-paced world, the desire for fresh, healthy, and sustainable food has never been stronger. Imagine plucking crisp lettuce, aromatic basil, or juicy cherry tomatoes from your own indoor garden, regardless of the weather outside. This isn’t a futuristic dream; it’s the reality offered by a well-executed smart garden setup. With advancements in hydroponics, aeroponics, and automated systems, you can now enjoy a bountiful harvest within a remarkably short timeframe, often as little as three months from planting.
Anuncios
This comprehensive guide will walk you through every essential step of setting up your first smart garden, ensuring you’re well-equipped to enjoy fresh produce with minimal effort. We’ll delve into the different types of smart gardens, the critical components you’ll need, how to choose the right plants, and crucial maintenance tips to guarantee a successful and continuous harvest. Whether you’re a seasoned gardener looking to embrace technology or a complete novice eager to grow your own food, this article provides practical solutions to get your smart garden thriving.
The Allure of the Smart Garden: Why Now is the Time
The concept of gardening has evolved dramatically. Gone are the days when a green thumb was a prerequisite, or when limited space meant no gardening at all. Smart gardens leverage technology to simplify cultivation, optimize growth, and maximize yield. They offer a multitude of benefits that make them an attractive option for modern households:
Year-Round Freshness, Regardless of Climate
One of the most significant advantages of a smart garden setup is the ability to grow produce year-round. Traditional gardening is at the mercy of seasons, temperature fluctuations, and unpredictable weather. Smart gardens, typically indoors, create a controlled environment where light, temperature, and humidity are precisely managed. This means you can enjoy fresh salads in winter, herbs in autumn, and fruits whenever you desire, breaking free from seasonal constraints and grocery store availability.
Anuncios
Reduced Water Consumption and Environmental Impact
Many smart garden systems, particularly hydroponic and aeroponic ones, use significantly less water than traditional soil-based gardening. This is because water is recycled and delivered directly to the plant roots, minimizing evaporation and runoff. This efficiency not only saves a precious resource but also reduces your environmental footprint, aligning with sustainable living practices. By growing your own food, you also cut down on the carbon emissions associated with transporting produce from farms to supermarkets.
Faster Growth and Higher Yields
Optimized growing conditions, including precise nutrient delivery and ideal light spectrums, accelerate plant growth. This means you can go from seed to harvest much quicker than with conventional methods. Furthermore, the controlled environment often leads to healthier, more robust plants and higher yields per square foot, making your smart garden setup incredibly productive.
No Soil, No Pests, Less Mess
For those who dread dealing with soil, weeds, and garden pests, smart gardens offer a clean and convenient alternative. Most systems are soil-less, eliminating the mess and reducing the incidence of soil-borne diseases and pests. This makes indoor gardening a far more hygienic and less labor-intensive endeavor.
Convenience and Automation
The ‘smart’ in smart garden refers to the level of automation. Many systems come equipped with automated watering, nutrient dosing, and lighting schedules. Some even connect to smartphone apps, allowing you to monitor and adjust conditions remotely. This hands-off approach makes gardening accessible even for those with busy lifestyles or limited gardening experience, transforming what was once a chore into an enjoyable pastime.
Choosing Your Smart Garden Setup: Types and Considerations
Before diving into purchasing components, it’s crucial to understand the different types of smart garden systems available. Each has its own advantages, ideal for various plant types and levels of commitment.
1. Hydroponics: Water-Based Wonders
Hydroponics is a method of growing plants without soil, using mineral nutrient solutions dissolved in water. The plant roots are directly exposed to this nutrient-rich water. There are several hydroponic techniques:
- Deep Water Culture (DWC): Plants are suspended with their roots immersed in a nutrient solution. An air pump and air stone oxygenate the water. Simple and effective for leafy greens.
- Nutrient Film Technique (NFT): A thin film of nutrient solution flows over the roots of plants that are typically placed in channels. This method provides excellent aeration and nutrient delivery.
- Wick Systems: A passive system where a wick draws nutrient solution up to the plant’s root system. Very low maintenance but less efficient for larger plants.
- Drip Systems: Nutrient solution is pumped through small tubes and dripped onto the base of each plant. Excess solution can be collected and recirculated.
Hydroponic systems are excellent for leafy greens, herbs, and some fruiting plants like strawberries and cherry tomatoes. They typically offer faster growth rates compared to soil.
2. Aeroponics: Misting for Maximum Growth
Aeroponics is an advanced form of hydroponics where plant roots are suspended in the air and misted with a nutrient solution. This provides maximum oxygenation to the roots, leading to incredibly fast growth and often larger yields. However, aeroponic systems are generally more complex and require more precise equipment. They are fantastic for professional growers and those looking to push the boundaries of growth speed and efficiency.
3. Aquaponics: The Symbiotic Ecosystem
Aquaponics combines aquaculture (raising fish) with hydroponics. Fish waste provides nutrients for the plants, and the plants, in turn, filter the water for the fish. It’s a sustainable, closed-loop system that produces both fish and vegetables. While highly rewarding, aquaponics requires a deeper understanding of both fishkeeping and plant cultivation, making it more suitable for experienced enthusiasts.
4. Smart Soil Pod Systems: Simplicity for Beginners
Many commercially available smart garden kits use pre-seeded soil or growing medium pods. These systems often handle lighting, watering, and sometimes nutrient delivery automatically. Brands like AeroGarden and Click & Grow fall into this category. They are incredibly user-friendly, ideal for beginners, and perfect for growing herbs, small vegetables, and flowers with a hands-off approach.
Key Considerations When Choosing Your System:
- Space: How much room do you have? Vertical systems are great for small apartments.
- Budget: Entry-level systems can be affordable, while advanced setups require a larger investment.
- Plant Type: What do you want to grow? Some systems are better suited for specific plants.
- Automation Level: How much hands-on involvement do you want?
- Experience Level: Start simple if you’re a beginner and scale up as you gain confidence.
Essential Components for Your Smart Garden Setup
Regardless of the type of smart garden you choose, several core components are necessary for a successful smart garden setup.
1. Grow Lights (LED is Key)
Light is the most critical element for indoor plant growth. Natural sunlight is often insufficient indoors, especially during shorter days or in rooms without direct sun exposure. LED grow lights are the gold standard for smart gardens because:
- Energy Efficiency: They consume less electricity than traditional grow lights.
- Spectrum Control: LEDs can emit specific wavelengths of light (blue for vegetative growth, red for flowering/fruiting) that plants need. Full-spectrum LEDs mimic natural sunlight.
- Low Heat Output: They produce less heat, reducing the risk of burning plants and lowering cooling costs.
- Longevity: LEDs have a much longer lifespan.
Look for lights with adjustable intensity and timers to mimic day-night cycles.
2. Growing Medium (Soil-less)
Since most smart gardens are soil-less, you’ll need an inert growing medium to support the plants and retain moisture. Common options include:
- Rockwool: Made from spun molten rock, excellent for germination and root support.
- Coco Coir: Made from coconut husks, great water retention and aeration.
- Hydroton (Clay Pebbles): Lightweight expanded clay aggregate, provides good support and drainage.
- Peat Moss: Good water retention, often used in seed-starting mixes.
3. Nutrient Solutions
Plants need essential macro and micronutrients to thrive. In a soil-less system, these must be supplied directly through a balanced nutrient solution. These solutions are typically available in liquid or powdered form, often in two or three parts to be mixed with water. Always follow the manufacturer’s instructions for mixing and dosing.
4. Water Reservoir and Pump
All hydroponic and aeroponic systems require a reservoir to hold the nutrient solution. A submersible pump will circulate the solution to the plants, either constantly or at timed intervals, depending on the system design.
5. Air Pump and Air Stone (for DWC)
In Deep Water Culture systems, an air pump and air stone are crucial to oxygenate the nutrient solution, preventing root rot and ensuring healthy root development.
6. pH Meter and pH Up/Down Solutions
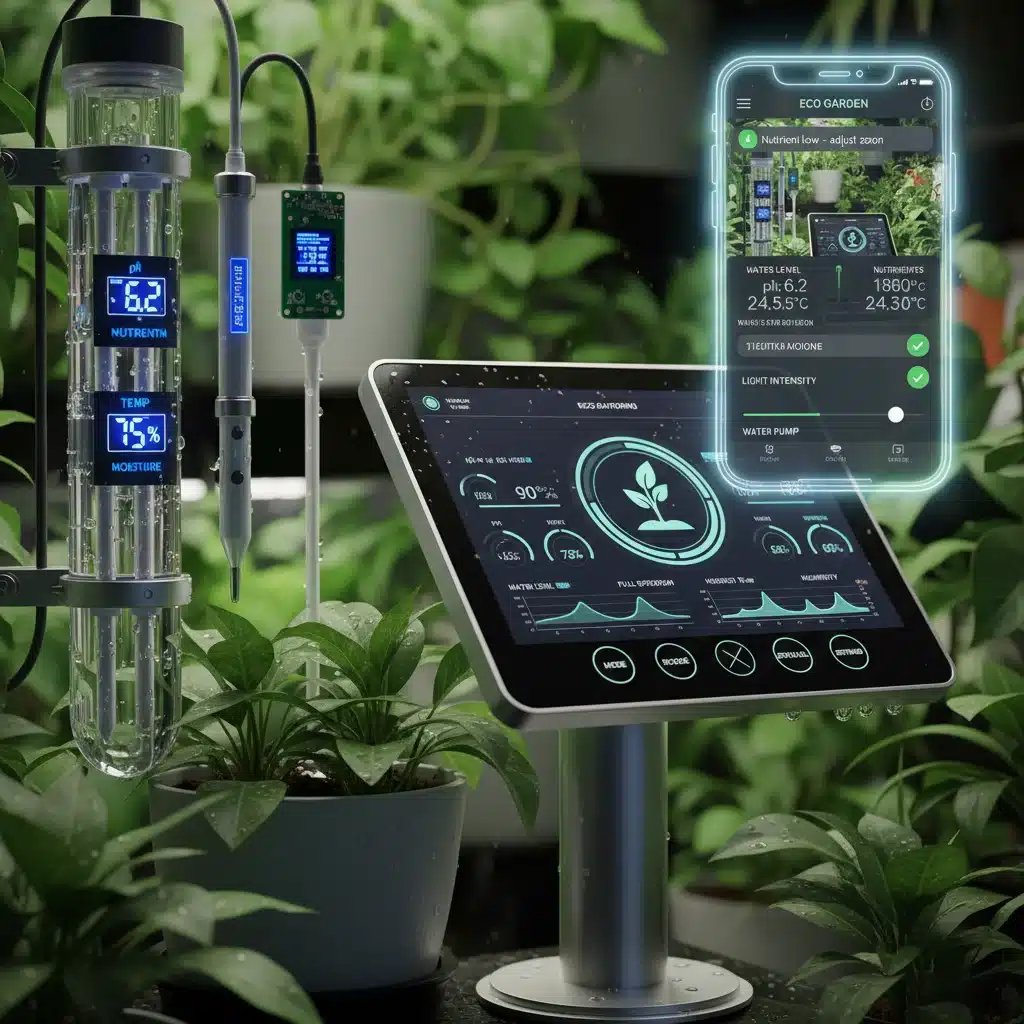
The pH level of your nutrient solution is critical. Most plants prefer a slightly acidic to neutral pH (typically 5.5 to 6.5). A pH meter helps you monitor this, and pH Up/Down solutions allow you to adjust it as needed. Maintaining the correct pH ensures that plants can absorb nutrients effectively.
7. EC/TDS Meter
An EC (Electrical Conductivity) or TDS (Total Dissolved Solids) meter measures the concentration of nutrients in your solution. This helps you determine if your plants are getting enough nutrients or if the solution is too strong. Regular monitoring is key to preventing nutrient deficiencies or burn.
8. Timer
Automated timers are essential for controlling your grow lights and, in some systems, your water pump. Consistent light cycles are vital for plant health and growth.
Setting Up Your First Smart Garden: A Step-by-Step Guide
Once you’ve chosen your system and gathered your components, it’s time for the exciting part – setting up your smart garden setup!
Step 1: Assembly and Placement
- Assemble Your System: Follow the manufacturer’s instructions carefully. Ensure all connections are secure and watertight.
- Choose a Location: Select a spot that is stable, can support the weight of the system (especially when full of water), and is close to a power outlet. Consider temperature; most plants prefer room temperature (65-75°F or 18-24°C).
- Prepare the Reservoir: Clean the reservoir thoroughly before adding water.
Step 2: Prepare the Nutrient Solution
- Add Water: Fill your reservoir with clean, filtered water. Tap water is often fine, but be aware of chlorine, which can dissipate over 24 hours or be removed with a filter.
- Measure and Mix Nutrients: Following the nutrient manufacturer’s guidelines, carefully measure and add the nutrient solutions to the water. Mix thoroughly.
- Check pH: Use your pH meter to test the solution’s pH. Adjust it to the ideal range for your plants (typically 5.5-6.5) using pH Up or pH Down solutions. Re-check after adjustment.
- Check EC/TDS: Measure the EC/TDS to ensure the nutrient concentration is appropriate for the growth stage of your plants.
Step 3: Planting Your Seeds or Seedlings
- Germination: You can germinate seeds directly in your chosen growing medium (e.g., rockwool cubes, coco coir plugs) or start them separately and transplant them once they sprout.
- Place in System: Carefully place your germinated seeds or seedlings into the net pots or growing slots of your system. Ensure the roots are in contact with the nutrient solution or will be reached by the mist/drip.
Step 4: Configure Lighting and Automation
- Set Light Timer: Most plants require 14-18 hours of light per day during vegetative growth. Set your grow light timer accordingly. Ensure a dark period of 6-10 hours.
- Adjust Light Height: Position your grow lights at the recommended distance from your plants. Too close can cause burning, too far can lead to leggy growth. Adjust as plants grow.
- Set Pump Timer (if applicable): If your system isn’t constantly recirculating, set your water pump timer to deliver nutrients at regular intervals.
Choosing the Right Plants for a Quick Harvest
To achieve that three-month harvest goal, selecting fast-growing plants is crucial. Here are some excellent choices for your smart garden setup:
Leafy Greens (2-4 weeks to harvest)
- Lettuce (various types): Romaine, Butterhead, Loose Leaf. Incredibly fast and perfect for continuous harvesting (cut-and-come-again).
- Spinach: Quick growing and packed with nutrients.
- Kale: Another nutrient powerhouse, grows well in smart gardens.
- Swiss Chard: Beautiful and productive.
Herbs (3-6 weeks to harvest)
- Basil: Sweet, Genovese, Thai. A must-have for any kitchen, grows vigorously.
- Mint: Peppermint, Spearmint. Very easy to grow, though can be invasive in soil, perfect for contained smart gardens.
- Cilantro: Fast-growing, but can bolt (go to seed) quickly in warm conditions.
- Parsley: Flat-leaf or Curly. A staple herb that thrives indoors.
- Chives: Easy to grow and provides a delicate onion flavor.
Fruiting Vegetables (8-12 weeks to harvest)
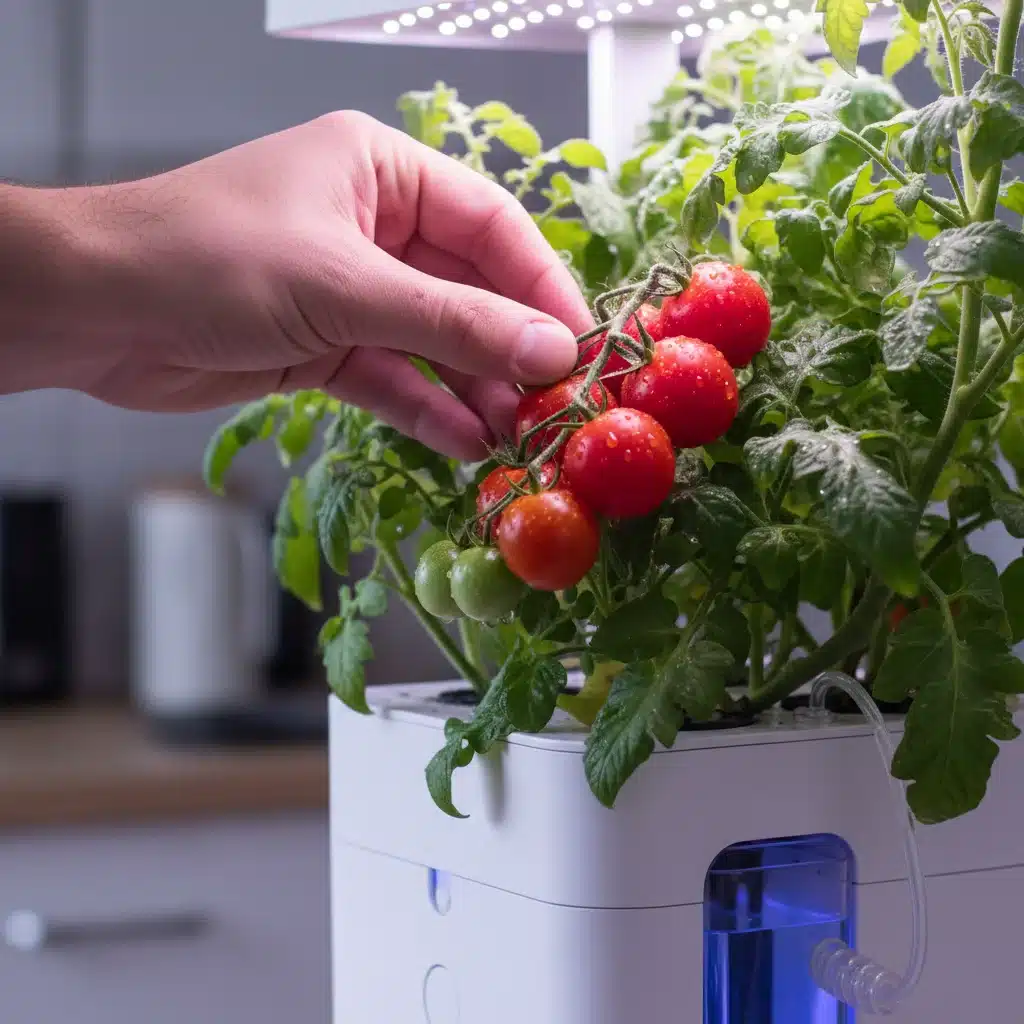
- Cherry Tomatoes: Compact varieties like ‘Tiny Tim’ or ‘Micro Tom’ are ideal for smart gardens. They start producing fruit relatively quickly.
- Strawberries: Everbearing varieties can produce fruit continuously.
- Mini Bell Peppers: Some dwarf varieties can yield small, sweet peppers.
For a quick harvest timeline, focus on leafy greens and herbs initially. As you gain experience, you can expand to fruiting plants that require a bit more attention and a longer growth cycle.
Maintenance for a Thriving Smart Garden
While automated, a smart garden still requires some routine maintenance to ensure continuous success and healthy plants.
1. Daily Checks
- Water Level: Check your reservoir daily and top off with fresh, pH-adjusted water as needed.
- Plant Health: Briefly inspect your plants for any signs of deficiencies (yellowing leaves), pests, or diseases. Early detection is key.
2. Weekly Checks and Adjustments
- pH and EC/TDS: Test your nutrient solution’s pH and EC/TDS levels. Adjust as necessary. As plants grow, they consume nutrients, so levels will drop.
- Pruning: Trim any yellowing or dead leaves. For leafy greens and herbs, regular harvesting (cutting back the outer leaves or upper stems) encourages bushier growth and prevents bolting.
- Light Height Adjustment: Raise your grow lights as your plants grow taller to maintain optimal distance.
3. Bi-Weekly/Monthly Reservoir Changes
It’s crucial to completely drain and refill your reservoir with fresh nutrient solution every 1-2 weeks (or monthly for some passive systems). This prevents nutrient imbalances, salt buildup, and the growth of harmful pathogens. Clean the reservoir thoroughly before refilling.
4. Pest and Disease Management
While less common in indoor smart gardens, pests (like aphids, spider mites, or fungus gnats) and diseases can still occur. Implement preventative measures:
- Quarantine new plants: Inspect any new plants thoroughly before introducing them to your system.
- Maintain cleanliness: Regularly clean your system and growing area.
- Natural remedies: If pests appear, use natural solutions like neem oil or insecticidal soap. Avoid harsh chemical pesticides in your food garden.
5. Pollination (for Fruiting Plants)
If you’re growing fruiting plants like tomatoes or peppers, you’ll need to assist with pollination since there are no bees indoors. Gently shake the plant or use a small brush to transfer pollen between flowers. Many smart garden kits for fruiting plants include a small fan or vibrator for this purpose.
Troubleshooting Common Smart Garden Issues
Even with the best smart garden setup, you might encounter a few hiccups. Here’s how to address common problems:
Yellowing Leaves
- Possible Cause: Nutrient deficiency (often nitrogen), incorrect pH, overwatering (in DWC, means lack of oxygen), or insufficient light.
- Solution: Check pH and EC/TDS levels, adjust if necessary. Ensure roots have enough oxygen. Increase light intensity or duration if plants appear leggy.
Slow Growth or Stunted Plants
- Possible Cause: Inadequate light, insufficient nutrients, wrong pH, or incorrect temperature.
- Solution: Verify light cycle and intensity. Check nutrient levels and pH. Ensure ambient temperature is within the ideal range for your plants.
Brown or Wilting Leaves
- Possible Cause: Nutrient burn (too high EC/TDS), root rot (lack of oxygen in water), or dehydration (unlikely in most smart systems, but check pump).
- Solution: Flush the system and refill with a weaker nutrient solution if EC is too high. Ensure adequate aeration for DWC systems. Check pump functionality.
Algae Growth in Reservoir/Channels
- Possible Cause: Light exposing the nutrient solution.
- Solution: Algae competes with plants for nutrients. Ensure your reservoir and channels are light-proof. Clean regularly.
Pests
- Possible Cause: Introduced from outside, or dormant eggs hatching.
- Solution: Isolate affected plants. Use organic pest control methods like neem oil, insecticidal soap, or introducing beneficial insects (e.g., ladybugs for aphids).
Harvesting Your Fresh Produce
The best part of your smart garden setup journey is undoubtedly the harvest! Knowing when and how to harvest correctly ensures the best flavor and encourages continued production.
Leafy Greens and Herbs
For most leafy greens and herbs, you can use the ‘cut-and-come-again’ method. Harvest the outer, mature leaves or stems, leaving the inner, younger growth to continue producing. This allows for continuous harvests over several weeks or even months. For basil, pinch off the top sets of leaves to encourage bushier growth rather than letting it grow tall and leggy.
Fruiting Plants (Tomatoes, Peppers, Strawberries)
Harvest fruiting plants when they reach their characteristic color and size. For tomatoes, pick when fully red (or ripe color for specific varieties) and slightly soft to the touch. Strawberries are best when fully red and fragrant. Regular harvesting encourages the plant to produce more fruit.
Expanding Your Smart Garden Horizon
Once you’ve mastered your initial smart garden setup and enjoyed several successful harvests, you might consider expanding your capabilities:
- Larger Systems: Upgrade to a bigger hydroponic or aeroponic system to grow more produce.
- Variety of Plants: Experiment with more challenging plants like cucumbers, larger peppers, or even dwarf fruit trees if your system allows.
- Advanced Automation: Integrate more sophisticated sensors (e.g., dissolved oxygen sensors) and controllers for even greater precision.
- Aquaponics: If you’re feeling adventurous and have the space, explore the world of aquaponics for a truly integrated food system.
Conclusion: Your Green Revolution Starts Here
Setting up your first smart garden is an empowering step towards food independence, healthier eating, and a deeper connection with nature, all from the comfort of your home. With the right smart garden setup and a little consistent care, you can reliably harvest fresh, delicious produce in as little as three months. The convenience, efficiency, and year-round availability make smart gardens a truly revolutionary approach to home gardening.
Embrace the technology, enjoy the process, and savor the unparalleled taste of homegrown food. Your smart garden journey begins now, promising a future filled with fresh flavors and sustainable living.